
Zoom Scheduler
Zoom Scheduler is a meeting scheduling tool available through our university Zoom licensing. It allows you to create booking links so students, colleagues, vendors, or external guests can choose from available times based on the schedule you define.
Why use Zoom Scheduler?
Zoom Scheduler is already included in our Zoom licensing, it works with Zoom Meetings and connects with Google Calendar. Zoom Scheduler reduces the need for separate scheduling tools and keeps appointment scheduling within a supported university technology environment.
Getting Started
Sign in to montclair.zoom.us using SSO (Single Sign-On).
Click the ‘Waffle’ icon to the left of your icon located on the right of the page.
Scheduler can also be accessed from Zoom desktop application.
Connect your Google Calendar when prompted.
Set your availability.
Create a booking page.
Share your booking link.
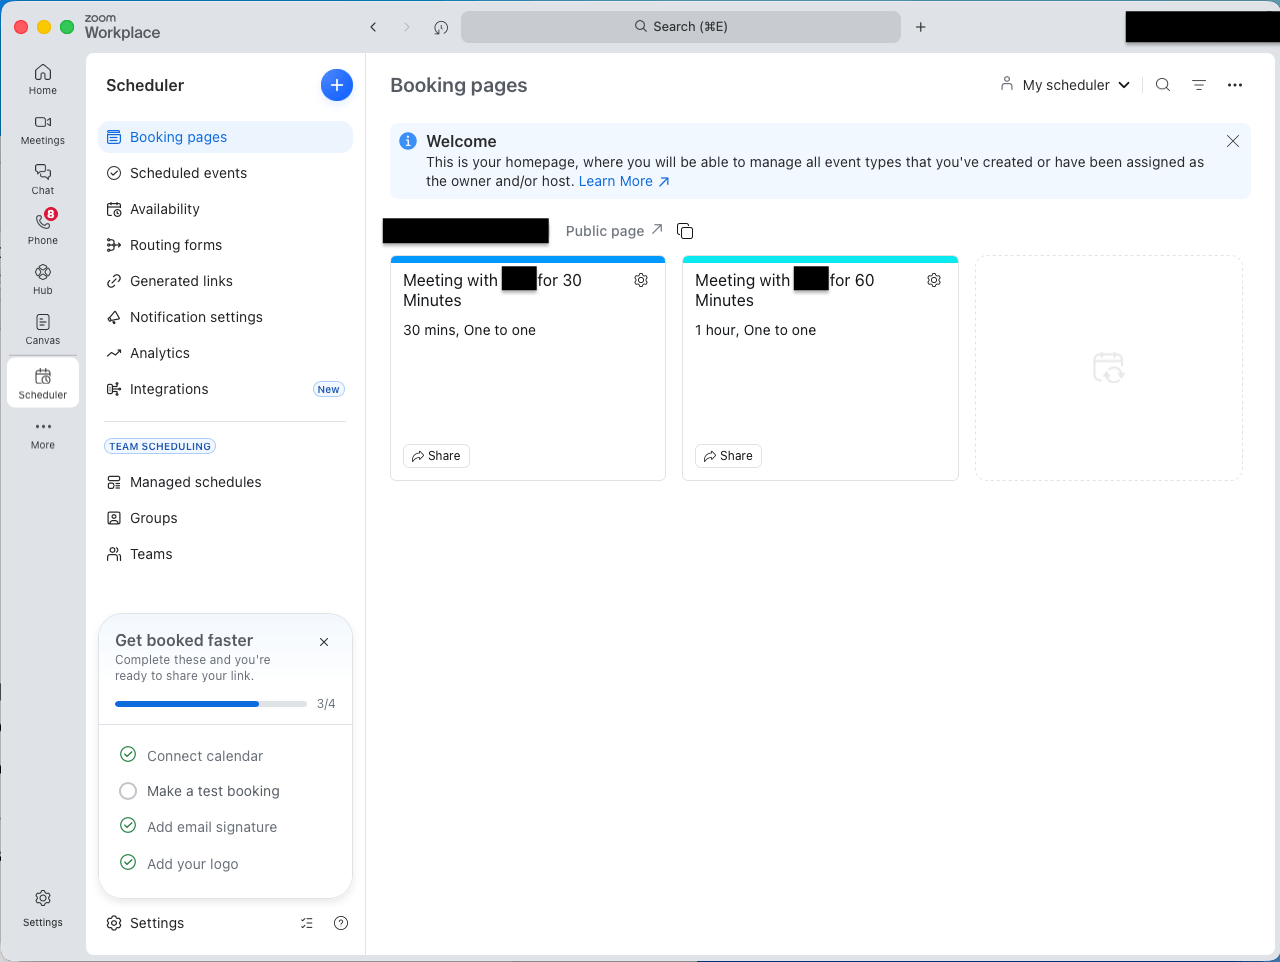
Create a Booking Page
One to One: Schedule a meeting with one attendee and you as the host.
Any Host Available: Schedule meetings with multiple team members in a rotating cycle, accommodating one attendee per booking.
All Hosts Available: Schedule meetings with multiple hosts, accommodating one attendee per booking.
One to Many: Schedule a meeting with multiple attendees and you as the host.
One-Off meeting: Host a meeting that falls outside of your regular booking page.
Availability poll: Create a one-time meeting after offering times for a vote.
Recommended Guidance
Use clear meeting names.
Set realistic meeting lengths.
Add buffer time between meetings.
Create separate booking pages for different meeting types.
Add your booking link to your email.
Additional Zoom Scheduler assistance can be found on the Zoom website.